Facebook Chat Flux Manual Installation Instructions
Before You Start
This guide should only be followed if Facebook Chat Flux is not working on your site after attempting a normal installation. You should have already enabled Facebook Chat Flux on your site before following this guide.
Step 1
Click here (opens in a new window) to open your theme’s theme.liquid file for editing.
Step 2
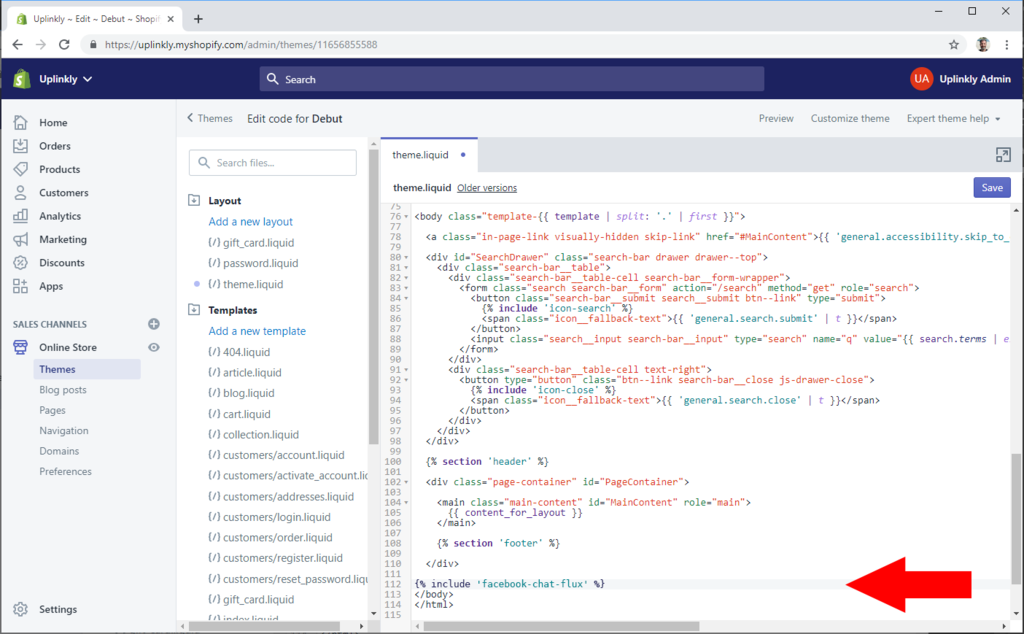
Scroll right to the very bottom of the code editor window to find the </body> tag.

Step 3
Copy and paste the code below into the editor before the </body> tag. You may create a new line if necessary.
{% 'facebook-chat-flux' %}
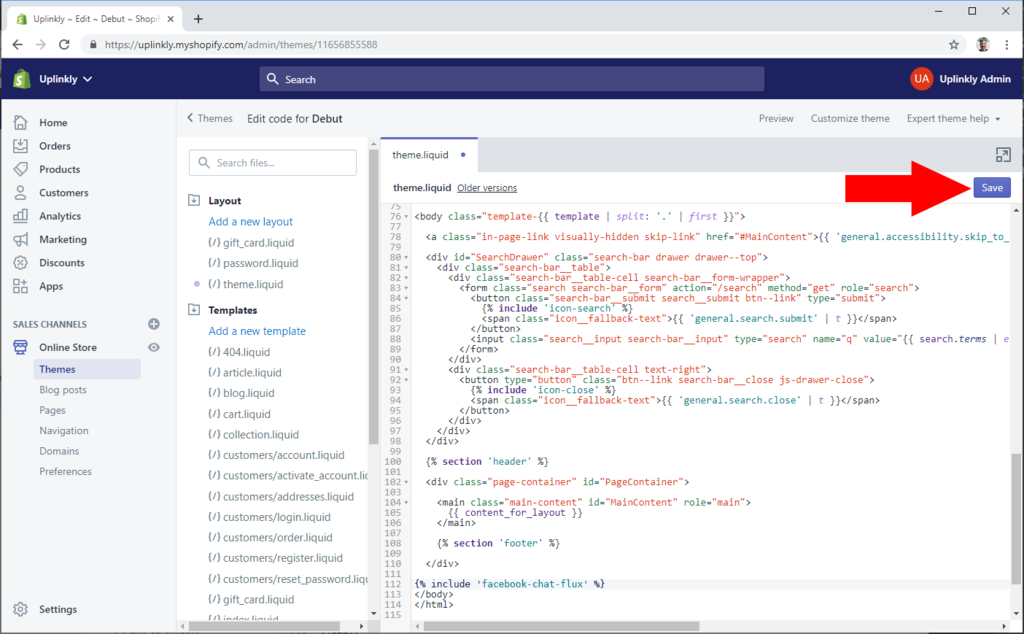
Step 4
Click the Save button.
Step 5
Congratulations, Facebook Chat Flux should now be functional on your site.
If you still have difficulty getting Facebook Chat Flux to work on your site, please contact our support